Bitcoin Cryptocurrency Exchanges
Trezor Hardware Wallet For Bitcoin & Cryptocurrency Storage [REVIEW]

TREZOR is a hardware wallet that provides advanced security for handling private keys. Unlike traditional offline wallets, TREZOR is able to make secure transactions without exposing user’s private keys to potentially compromised computers.
The entire wallet can be backed up with the twenty-four randomly generated words, using RNG from the device and the computer on setup. The process ensures that the seed is generated offline, making sure the seed is never on an internet connected device.
As an additional security measure, setting up the wallet requires you to set a pin. The pin is a sequence of numbers randomly arranged on the devices screen. The random arrangement of the numbers is to create a difficulty in guessing the code in the case of theft.

The difficulty of guessing is increased to the power of 2 after every incorrect guess, therefore increasing the time to make 30 correct guesses to at least 17 years. You can also add a passphrase to the 24-word seed for extra security, to act as a 25th word, which must always be remembered at each login attempt. The passphrase offers more security, but if forgotten the wallet cannot be recovered. As an added advantage, Trezor uses BIP39 and BIP44 standards for creating new wallets, so the generated 24-word seed and passphrase can be used by other compatible wallets to recover the wallet in case of theft or damage of the device.
Also, to restrict a hacker’s access to zero, each transaction must be confirmed on the device’s screen by pressing the button so as to make sure the hacker couldn’t automatically send a transaction from the device.
Trezor is compatible with varieties of wallets, including:
- Electrum
- MultiBit HD
- GreenAddress
- ArcBit
- Blockonomics
- Copay
- Electrum
- Etherwall
- Mycelium
- TREZOR Web Wallet, and
- Sentinel
Trezor Setup & Initialization
The three basic ways to setup the Trezor hardware wallet include:
- myTREZOR
- Chrome extension
Setting up Trezor Using myTrezor.com
- Go to myTrezor wallet website.
- Select your preferred operating system and Click on the download button to download the setup.
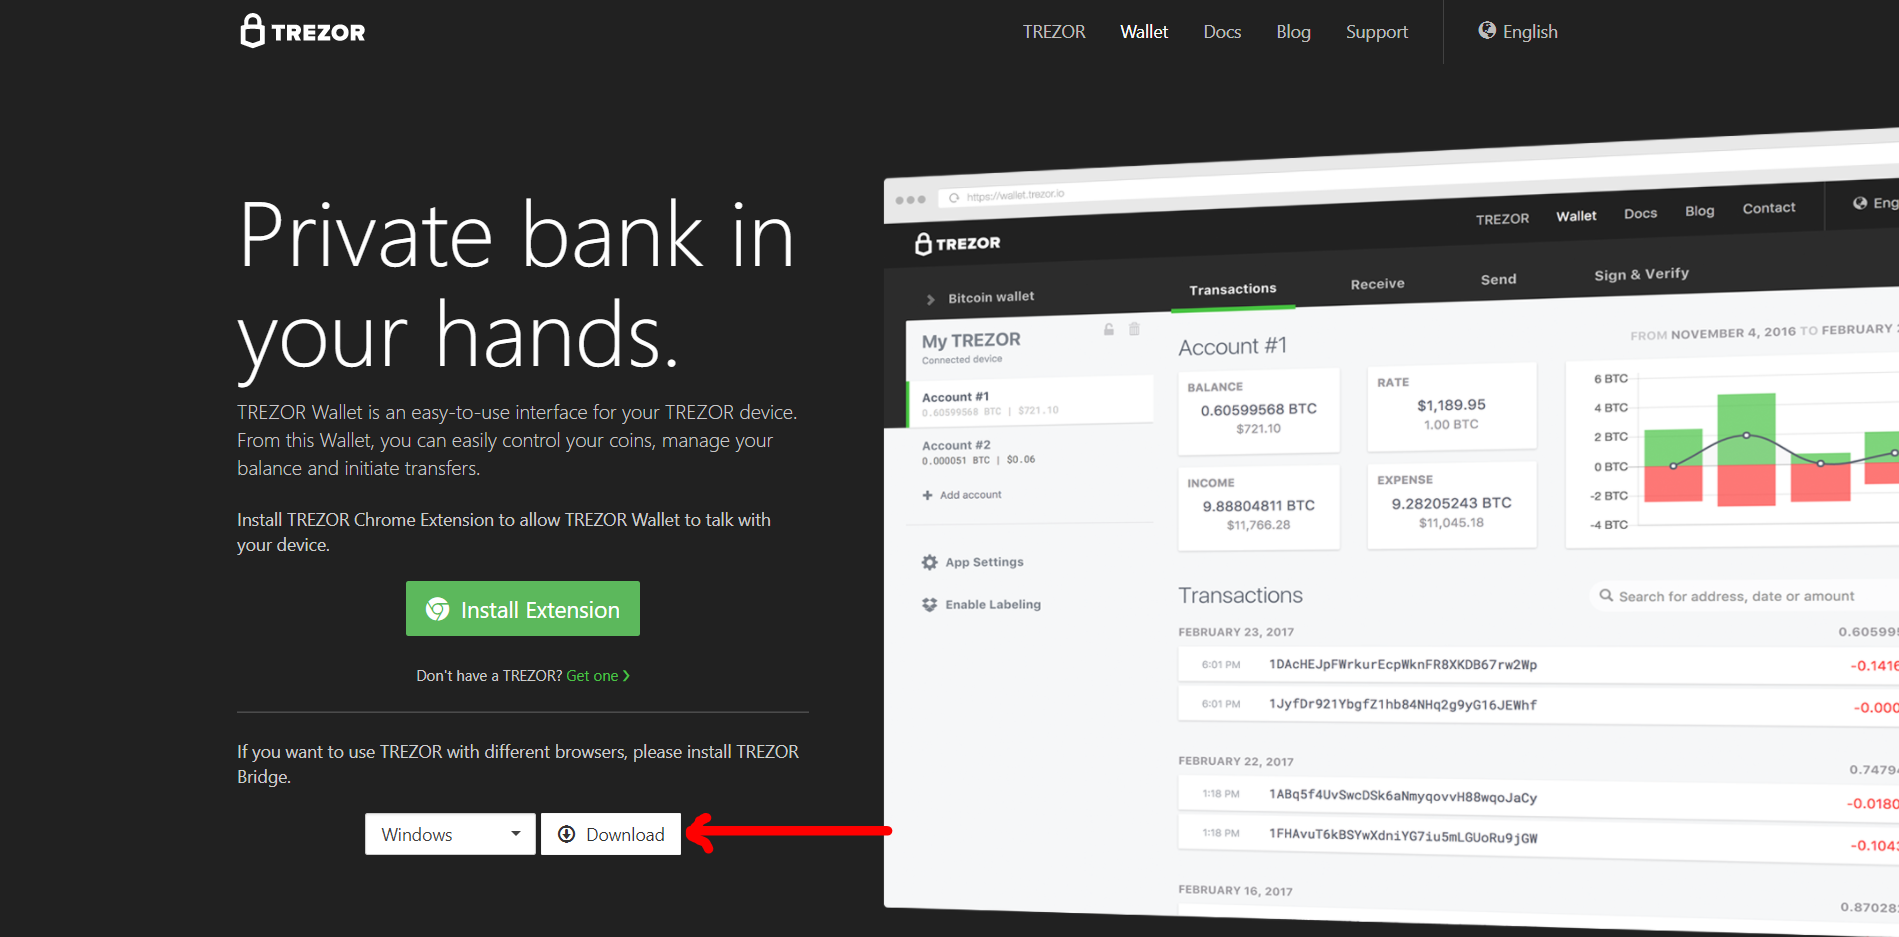

- Launch the downloaded file to proceed with the setup.
- Start the program after installation and follow the instructions to complete the setup
- To make sure you always have the newest version of firmware when setting up the device, the first thing you will be asked to do is to install the device system – firmware. Simply confirm it on the device, and verify the fingerprint after the process is done.
- After installing firmware, replug your TREZOR, and you should see a web page welcoming you and asking for a device label
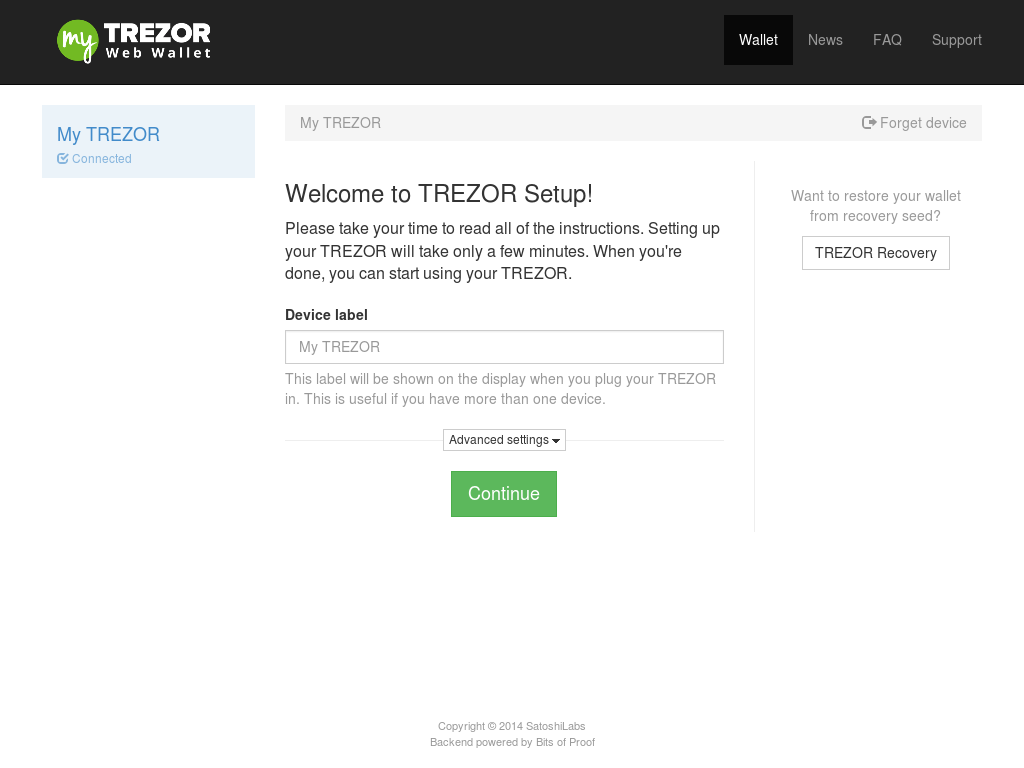
- Enter a new name for your TREZOR device and press Continue.
- If you have set your device label successfully you will now see a message on your TREZOR’s screen prompting you to write down the seed.
- Now you should get out the recovery card that came with your TREZOR and fill out the blanks with the words you see on your Trezor screen.
- To go to the next word, press the right button on the device while writing each word on the card.
- Once you have written down the secret words in your seed you will find yourself at the beginning of the list again. As you proceed through the list of seed words for the second time, check them against your recovery card to ensure that you have filled out your recovery card correctly, and you are ready to use start using your TREZOR device!

Setting up Trezor using Chrome browser extension
The Google Chrome is a free Internet browser available for free on almost all the major operating systems. Chrome extensions allow you to add cross-platform functionalities to Chrome and chrome-based browsers without diving deeply into native code. TREZOR wallet can also be setup using the Chrome extension to allow cross platform functionalities. The following steps should be followed when setting the device:
- Go to webstore to download and install the browser extension.
- Connect the device to your computer using the USB cable.
- Once the plugin is activated, myTrezor will prompt you to choose a PIN.
- Write down the randomly generated sequence of 24 words as described above.
Setting up the Chrome extension on Linux
Linux users, after you install the Chrome extension in TREZOR Wallet on Linux, you will be asked to install additional package (DEB or RPM), which configures UDEV rules of your system, necessary for communication between the device and Chrome browser. Then, continue with the following steps.
It should be noted that:
myTREZOR.com is TREZOR’s web wallet, while the Chrome extension is an app installed to your browser. The setup process on both is the same. The one difference is that setup in myTREZOR.com is online, while the Chrome extension can be used offline. It is generally recommended to use the Chrome extension and setup offline if you care about your privacy.
Setting up Trezor using the Trezor manager for Android
Provided your phone supports the USB Host (USB On The Go – OTG):
- Download the Trezor manager for Android here.
- Connect the Trezor hardware with the phone using the OTG
- Follow the instructions on the screen as described above to complete the process
DEPOSITING/WITHDRAWING BTC TO YOUR TREZOR
Depositing BTC to your Trezor wallet
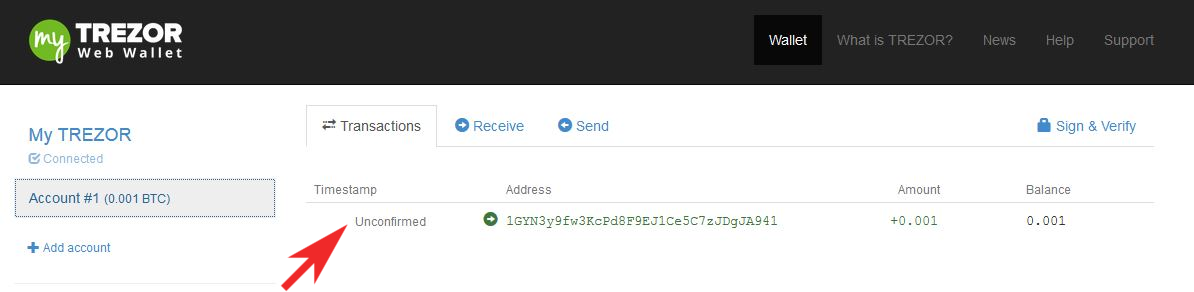
- In myTrezor, click on “Account #1” on the left of the screen and you will see an empty Transactions tab.
- Select the “Receive” tab to get your first bitcoin address
Note: When someone makes a payment to you, you will see the green (incoming) transaction appear in the transactions pane.

Depositing BTC with your Trezor wallet
- Go to the account page in myTrezor and press send. You'll be taken to a payment page like this:
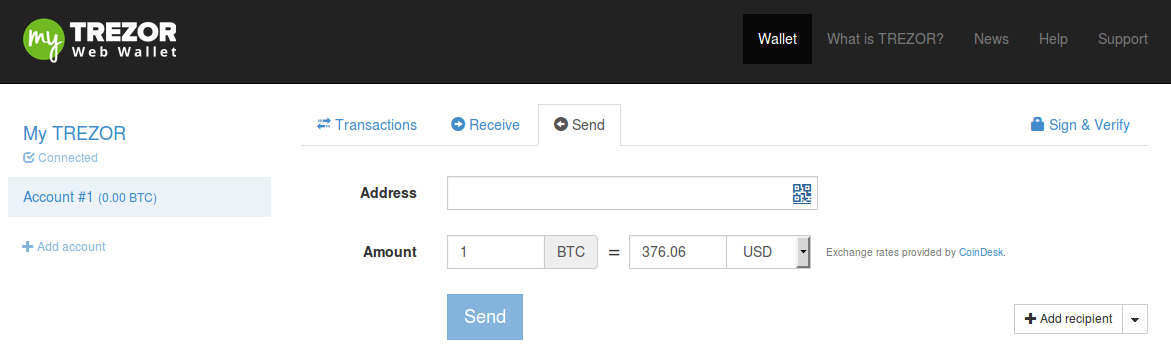
- Enter the destination bitcoin address.
- Press send and enter your PIN
- Confirm the transaction on your Trezor

Note:
You can send bitcoins to multiple addresses with one transaction by pressing the ‘+’ button in the right-hand corner of the Send page. You can also choose to add multiple transactions by clicking on the “Import from CSV” button.